Errors in graphic files before printing can lead to significant time and financial losses. A single typo in a phone number on 1000 business cards means the cost of reprinting and loss of customer trust. Below we present a detailed checklist to help avoid the most common problems.
Why Pre-Print Verification is Crucial
Prolonged work on a project can lead to so-called "change blindness" – the longer we look at the same material, the harder it is to notice errors. Studies show that most mistakes in printed materials can be detected in a simple, minute-long check before sending the file to production.
According to industry statistics, about 90% of printing errors are detectable before production begins.
Checklist: 15 Key Verification Elements
1. Text Accuracy Check
Elements to Verify:
- Phone number
- Email address
- Website address
- Company physical address
- Names and surnames
- NIP / REGON
- VAT rates and prices (in catalogs/pricelists)
Tip:
Verification of Polish diacritical marks. Sometimes (especially when converting fonts) accents (ą, ę, ś, ć) are missing. Read the text slowly, syllable by syllable.
2. Font Verification
Some fonts do not contain Polish characters (ą, ć, ę, ł, ń, ó, ś, ź, ż), which can lead to their automatic replacement with Latin equivalents or another font style (so-called "gibberish").
Fix Method:
- Convert all texts to outlines before exporting for print.
- In Adobe Illustrator/InDesign: Select text -> Shortcut Ctrl+Shift+O (Cmd+Shift+O on Mac).
How to Check if Text is Outlined?
Open the PDF file. Use the search function (Ctrl+F). If you CANNOT search and select the text, it means it has been correctly converted to outlines.
3. Font Size and Readability
Minimum Recommended Sizes:
- Business Cards: minimum 6-7 pt for auxiliary texts, 9-10 pt for the name.
- A5/A4 Flyers: minimum 9-10 pt for continuous text.
- Posters and Roll-ups: headlines readable from 2-3 meters (min. 72 pt).
4. Image and Graphic Resolution
Control procedure in Adobe Acrobat:
- Open the Print Production tool -> Output Preview.
- In the Preview option, select Object Inspector.
- Click on the image. It should be 300 DPI (pixels per inch).
Files with a resolution below 200 DPI may cause visible blurring ("pixelation") in print.
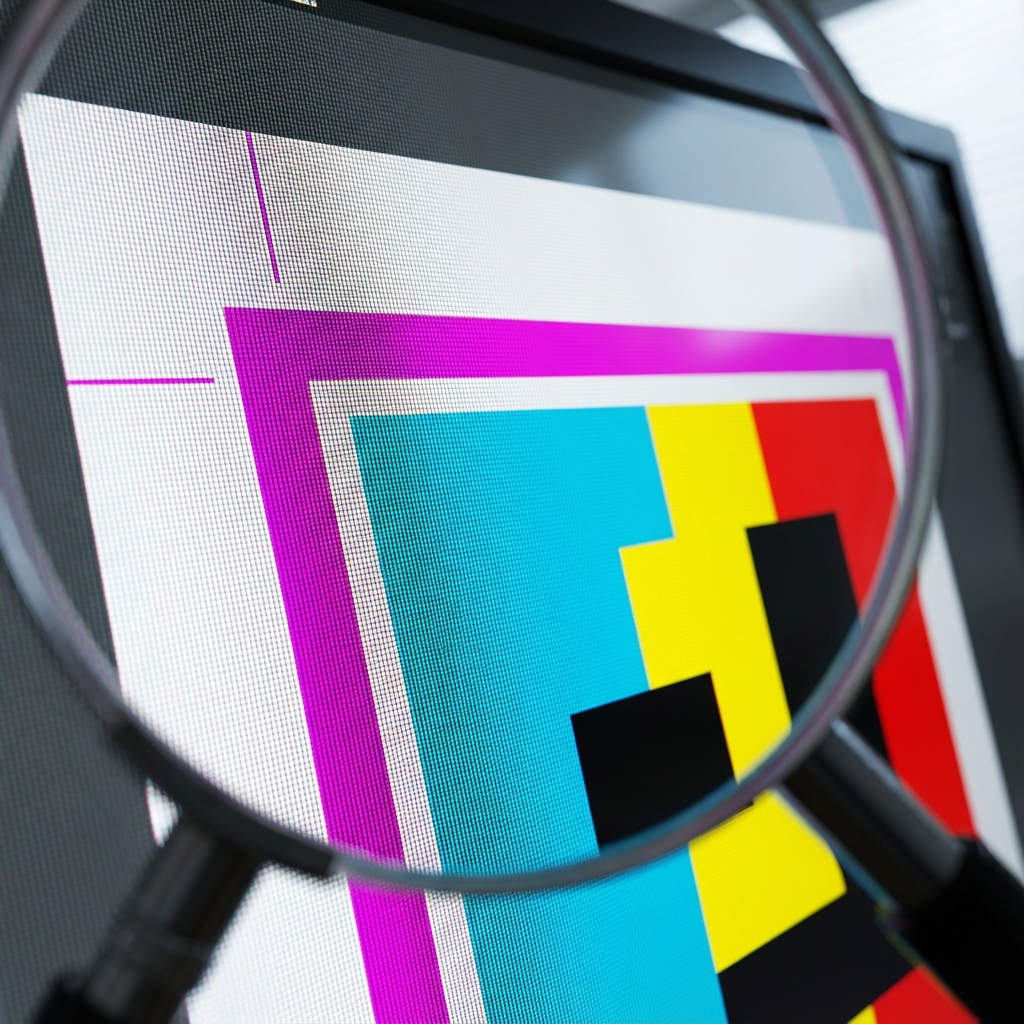
5. Color Mode (CMYK vs RGB)
Observe color changes after converting to CMYK. Especially bright colors (neon greens, blues) may become faded. Accept this change on the screen or choose a color from the CMYK swatch.
Beware of Black Text:
Small black text should be defined as 100% K (C:0 M:0 Y:0 K:100), not composed of 4 colors (so-called Rich Black), which can cause blurring with minimal print shift.
6. Bleeds
Bleeds are an additional 2-3 mm of graphic material extending beyond the cut edge. They prevent white borders from appearing with slight inaccuracies in guillotine cutting.
Does your background reach the edge of the net format? Extend it by 3 mm outward.
7. Safety Margins
Important texts and logos should not be too close to the cut edge.
- Business Cards: min. 3 mm from the edge.
- Flyers/Catalogs: min. 5 mm from the edge.
- Sewn/Bound Catalogs: include an inner margin for the spine (min. 10-15 mm).
8. Black Configuration (Rich Black)
Pure black (K=100%, C=0, M=0, Y=0) may look flat in print.
Recommended Rich Black Configuration: C=60%, M=40%, Y=40%, K=100%
Note: Rich Black on small text may cause registration issues. Use only on large areas.
9. Overprint
When colors overlap (e.g., text on a background of a different color), it is recommended to use the Overprint function to avoid white lines with minimal registration shifts.
In Adobe Illustrator: Window → Attributes → Overprint Fill
10. Embedded Fonts
Check in Adobe Acrobat:
- File → Properties → Fonts
- Each font should be marked as (Embedded Subset) or (Embedded)
- Lack of font embedding may lead to font substitution by the printing system
11. Logo Format (Vector vs Raster)
Verification Method:
- Zoom preview to 400% in PDF
- Vector logo remains sharp at any scale
- Raster logo (JPG/PNG) shows pixelation
12. QR and Barcode Functionality
Recommended test procedure:
- Print the code on a home printer
- Test scanability with a mobile device
- If problems arise: increase code size or reduce data complexity
13. Material Orientation
To avoid mistakes, it is recommended to include orientation information directly in the file name, e.g., "Flyer_A4_LANDSCAPE.pdf"
14. Number of Pages in Brochures
For stitched or folded brochures, the number of pages must be divisible by 4 (4, 8, 12, 16, 20...). An incorrect number of pages leads to additional costs for blank pages.
15. Paper Specification
The color and type of paper should be clearly specified in the order. Cream paper changes the perception of colors compared to premium white.
Examples of Costly Mistakes
Case 1: Spelling Error in Professional Title
Batch of 2000 business cards with an incorrectly written professional title. Reprint cost: 800 PLN and a two-week delay in material distribution.
Case 2: Incorrect Logo Resolution
Logo downloaded from an internet search (200x200 px) scaled to A2 poster. Result: noticeable pixelation and the need for reprinting.
Case 3: Incorrect Number of Pages
A 13-page brochure required adding 3 blank pages to meet the required multiple of 4. Additional cost: 300 PLN.
Shortened Checklist
- Verification of contact details (phone, email, WWW)
- Check graphic resolution (zoom 200%)
- Check color mode (CMYK / RGB)
- Presence of bleeds (+3 mm)
- Embedded fonts in the PDF file
Summary
Need a Professional Graphic Design?
Fill out the form – we will prepare an innovative design for your company, checked for print readiness.
Order Design